How to Turn a Bread Machine Mix Into a Beautiful Homemade Loaf (Without a Bread Machine!)
Published on October 1, 2026
No bread machine? No problem! Learn how to transform a convenient bread machine mix into a beautiful, oven-baked loaf of homemade bread.
There’s something special about the smell of freshly baked bread filling your kitchen. The golden crust, the soft, fluffy center, and that first warm slice with a little butter make homemade bread worth the effort.
Can you bake bread machine mix without a bread machine?
Yes! Bread machine mixes can be baked in a conventional oven. Combine the mix with the yeast, water, and oil or butter specified on the package. Knead until smooth, let the dough rise until doubled, then shape it into a loaf and allow a second rise. Bake in a loaf pan at 350°F for approximately 30–40 minutes, or use a Dutch oven for a rustic, crusty loaf. No bread machine is required.
But here’s a little secret: You don’t actually need a bread machine to make delicious bread from a bread machine mix!
With a mixing bowl, a little patience, and your oven, you can transform a simple bread mix into a beautiful homemade loaf.
Better yet, you have options! You can bake a classic sandwich-style loaf in a traditional bread pan or create a rustic, artisan-style round loaf with a wonderfully crisp crust using a Dutch oven.
Here’s how to do both.
What You’ll Need
 Before getting started, gather a few basic ingredients and kitchen tools.
Ingredients
- Your favorite bread machine mix (may we recommend our own Back-to-Basics Bread Mixes?)
- Yeast (the amount specified on the package)
- Warm water (according to the package instructions)
- Oil or melted butter (according to the package instructions)
- A little extra flour for kneading
Equipment
- Large mixing bowl
- Wooden spoon or sturdy spatula
- Clean kitchen towel or plastic wrap
- Lightly floured work surface
- Dough scraper (optional)
- Loaf pan or a heavy-duty Dutch oven
- Parchment paper (for rustic loaves)
- Wire cooling rack
You can knead your dough by hand or use a stand mixer fitted with a dough hook.
Step 1: Mix Your Bread Dough
Start by combining your bread mix and instant yeast in a large mixing bowl. Whisk them together to distribute the yeast evenly.
Next, add the warm water and oil or melted butter according to the instructions on your bread mix.
Using a wooden spoon or sturdy spatula, stir everything together until a shaggy, slightly sticky dough forms. Make sure there are no dry patches of flour remaining.
Don’t worry if your dough looks a little rough at this stage. That’s perfectly normal!
Lightly flour your work surface and turn the dough out of the bowl.
Step 2: Knead the Dough
Kneading develops the gluten in your dough, giving your finished bread the structure it needs to rise beautifully and develop a soft, satisfying texture.
Knead for approximately 5–8 minutes, until the dough becomes smooth and elastic.
How to Knead Bread by Hand
Kneading is easier than you might think!
- Push the dough away from you using the heels of your hands.
- Fold the dough back toward yourself.
- Give the dough a quarter turn.
- Repeat the process until the dough becomes smooth and stretchy.
If the dough sticks to your hands, dust your work surface lightly with flour. Try not to add too much, as excess flour can make your finished bread dense.
Prefer to Use a Stand Mixer?
A stand mixer fitted with a dough hook can do the work for you. Mix on low speed until the dough becomes smooth and elastic, following your mixer’s recommended speed and kneading time.
How do you know when your dough is ready?
Give it a gentle poke with your finger. Properly kneaded dough should feel smooth and elastic and slowly spring back into shape.
Step 3: Let the Dough Rise
Once your dough is smooth and elastic, gently shape it into a ball.
Lightly oil a large bowl and place your dough inside, turning it once to coat the surface.
Cover the bowl with plastic wrap, a clean kitchen towel, or a plate.
Allow the dough to rise in a warm, draft-free location for approximately 1½ to 2 hours, or until it has doubled in size.
Have an oven with a proofing setting? You can use it to speed things along! The first rise may take approximately one hour, depending on the temperature.
The important thing is to watch the dough rather than the clock. You’re looking for a noticeable increase in volume.
Once the dough has doubled, gently press it down to release excess gas and turn it onto a lightly floured work surface.
Now comes the fun part: choosing how you want to bake your bread!
Option 1: Bake a Classic Homemade Sandwich Loaf
If you love soft, fluffy bread that’s perfect for sandwiches, toast, or enjoying with a little butter, this is the method for you.
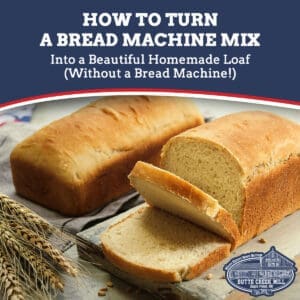
Baking your bread machine mix in a traditional loaf pan produces a familiar, evenly shaped loaf that’s easy to slice and perfect for everyday use.
Step 4: Shape Your Loaf
Lightly grease a loaf pan.
Shape your dough into an oval or log, tucking the edges underneath to create a smooth top.
Place the dough into your prepared loaf pan, seam-side down.
Step 5: Let It Rise Again
Cover the loaf loosely with a clean kitchen towel or lightly greased plastic wrap.
Allow it to rise for approximately 45 minutes to 1 hour, until the dough looks noticeably puffy and has nearly doubled in size.
Meanwhile, preheat your oven to 350°F.
Step 6: Bake Until Golden Brown
Place the loaf pan in your preheated oven and bake for approximately 30–40 minutes.
You’ll know your bread is ready when:
- The crust is a beautiful golden brown.
- The loaf sounds hollow when gently tapped.
- The internal temperature reaches approximately 190–200°F for a typical lean or lightly enriched loaf.
If the top begins browning too quickly, loosely cover it with aluminum foil for the remainder of the baking time.
Step 7: Cool Before Slicing
Remove the bread from the oven and carefully turn it out of the loaf pan.
Place it on a wire cooling rack and allow it to cool for at least 30 minutes before slicing.
The result? A beautiful homemade loaf with a soft interior that’s perfect for everyday enjoyment.
Option 2: Make a Rustic Artisan-Style Bread Loaf
Want something that looks like it came straight from a bakery?
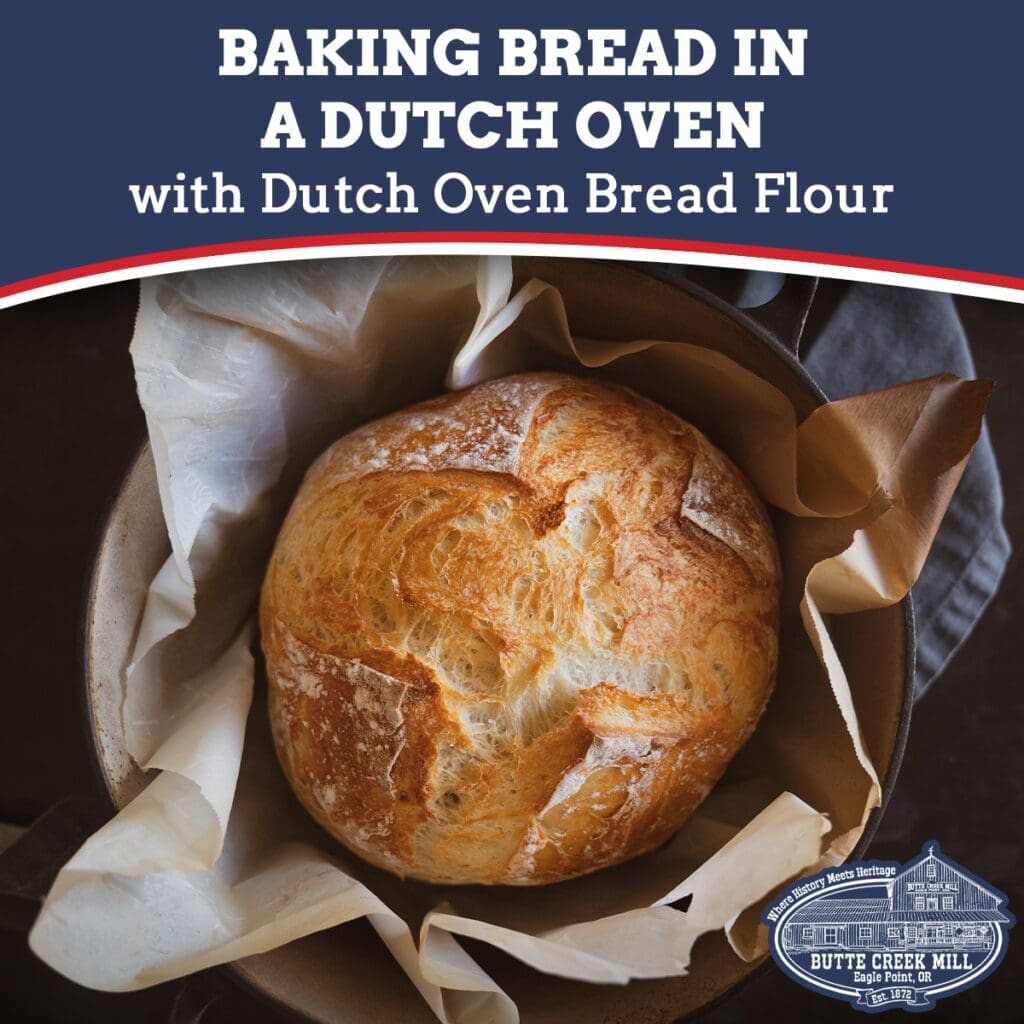
With a Dutch oven and a little parchment paper, you can transform the very same bread machine mix into a gorgeous, round loaf with a crisp, golden crust.
This method is especially wonderful for serving alongside soups, stews, and hearty meals.
Step 4: Shape Your Rustic Loaf
After the first rise, gently shape your dough into a smooth, round ball by pulling the outer edges underneath.
Place the dough on a sheet of parchment paper large enough to lift it into your Dutch oven.
Cover loosely and allow it to rise for approximately 45 minutes to 1 hour, until noticeably puffy.
Step 5: Preheat Your Dutch Oven
While your dough completes its second rise, place a heavy-duty Dutch oven with its lid inside your oven.
Preheat to 450°F and allow the Dutch oven to heat for approximately 30 minutes.
Important: Make sure your Dutch oven, lid, and handles are rated for this temperature.
Step 6: Score Your Bread
Just before baking, use a sharp knife or bread lame to score the top of your loaf.
A simple X across the center creates a beautiful rustic appearance and gives the dough room to expand as it bakes.
You can also experiment with decorative patterns once you get comfortable with the technique!
Step 7: Bake Your Rustic Loaf
Carefully remove the hot Dutch oven from your oven.
Using the edges of the parchment paper, gently lower your dough into the pot. Make sure your parchment paper is rated for the baking temperature.
Replace the lid and return the Dutch oven to the oven.
Reduce the oven temperature to 350°F.
Bake using the following method:
Covered: Bake for approximately 30 minutes. The covered Dutch oven traps moisture released by the dough, helping the bread expand and develop its crust.
Uncovered: Carefully remove the lid and continue baking for another 12–15 minutes, or until the crust is a rich golden brown.
For the best results, check that the center of your loaf has reached approximately 190–200°F, depending on the type of bread.
If your loaf needs more color or time to finish baking, continue baking uncovered for a few additional minutes.
Want an even crispier crust? For lean bread mixes without significant amounts of sugar, milk, or butter, you can experiment with baking at a higher temperature. A common approach is 425°F covered for 25–30 minutes, followed by 400°F uncovered for 10–15 minutes. Watch enriched breads carefully, as they can brown more quickly.
Step 8: Cool and Enjoy
Carefully lift your finished bread from the Dutch oven using the parchment paper.
Transfer it to a wire cooling rack and allow it to cool for at least 30 minutes before slicing.
You’ll be rewarded with a beautiful, rustic loaf that’s just begging to be served with butter, dipped in olive oil, or paired with your favorite homemade soup.
Tips for Baking Bread Machine Mixes Without a Bread Machine
- Follow the mix’s ingredient measurements. Bread machine mixes are already formulated with specific amounts of flour and other ingredients. Use the water, yeast, and fat quantities recommended on the package.
- Pay attention to water temperature. Warm water helps activate yeast, but water that’s too hot can damage it. Unless your mix specifies otherwise, aim for approximately 100–110°F.
- Don’t rush the rising process. Bread rises differently depending on room temperature, humidity, and the type of flour used. Let the dough tell you when it’s ready.
- Avoid adding too much flour. Slightly tacky dough is normal. Adding too much flour during kneading can create a dry, heavy loaf.
- Remember that every oven is different. Baking times are guidelines. Watch the color of your crust and check the internal temperature when you’re unsure.
- Choose the right baking pan. A traditional loaf pan produces soft sandwich-style bread, while a Dutch oven helps create a rustic loaf with a crisp crust. Make sure your pan is appropriately sized for the amount of dough in your mix.
- Let your bread cool. We know it’s tempting to slice into a fresh loaf immediately, but allowing the bread to cool helps the interior finish setting and makes slicing easier.
One Bread Mix, Two Beautiful Possibilities
One of the best things about baking bread is that there’s no single right way to enjoy it.
Whether you prefer the familiar shape of a soft sandwich loaf or the rustic charm of a round, crusty loaf, you can create something wonderful using the same convenient bread machine mix.
And you don’t need any special bread-making experience to get started.
Just a bowl, a little patience, and your oven.
So grab your favorite bread mix, roll up your sleeves, and enjoy the simple pleasure of baking fresh homemade bread!
Frequently Asked Questions
What temperature should I bake bread machine mix in the oven?
For a traditional sandwich loaf, bake at 350°F for approximately 30–40 minutes. Rustic Dutch oven loaves can be baked using a preheated Dutch oven, with the temperature adjusted according to the recipe. Bread is generally finished when the crust is golden brown and the internal temperature reaches approximately 190–200°F.
How long does bread machine dough need to rise?
Most bread machine mixes need approximately 1½–2 hours for the first rise and another 45–60 minutes after shaping. Rising times depend on room temperature, yeast activity, and the ingredients in the mix. Watch for the dough to approximately double in size rather than relying strictly on the clock.
Can I make artisan bread using a bread machine mix?
Yes! After kneading and the first rise, shape the dough into a round loaf and let it rise again. Bake it in a preheated Dutch oven with the lid on to trap steam, then remove the lid toward the end of baking. This method creates a beautiful rustic loaf with a golden, crisp crust.
Do I need to add extra yeast to a bread machine mix?
Only use the amount of yeast specified on the package. Some bread machine mixes include yeast in a separate packet, while others require you to add your own. Adding unnecessary yeast can cause the dough to rise too quickly or collapse during baking.
Can I knead bread machine mix by hand instead of using a mixer?
Absolutely! Knead the dough on a lightly floured surface for approximately 5–8 minutes. Push the dough away with the heels of your hands, fold it back, rotate it, and repeat until smooth and elastic. A stand mixer fitted with a dough hook is optional.
Why is my homemade bread dense instead of fluffy?
Dense bread can result from insufficient kneading, inadequate rising time, inactive yeast, or adding too much flour. Use fresh yeast, measure ingredients carefully, knead until the dough is smooth and elastic, and allow it to rise sufficiently before baking. Avoid adding excessive flour during kneading.
Bring the Mill
Home to Your Kitchen
Our stone-ground heritage flours are milled with care and made for real baking - from sourdough loaves to everyday favorites.

More from the Mill
Recipes, baking tips, and stories from our Oregon Mill